Trust us with recladding your plaster clad unhealthy home into a home that is weathertight and warm restoring value to your property and give you piece of mind on those rainy nights
Thousands of New Zealand homes and buildings that were constructed during the 1990s now suffer from the substandard design and building material choices along with poor construction techniques that were typical during that period and are now deemed as”Leaky Buildings” The use of monolithic cladding systems that typically had no cavity between the cladding and the house framing timber was a recipe for disaster, and many cladding and flashing systems allowed varying degrees of water ingress into the home in one way or another. To make matters worse and due to the lack of a cavity, any water that penetrates behind the cladding cant get out or dry out ! This trapped water causes framing timbers to rot resulting in a damp, mouldy, and unhealthy home. We have even seen homes that have had structural issues so severe that they have been unsafe to live in due to serious decay within the structural timber elements of the building.
If you suspect that your home is leaking we believe that its very important that you understand exactly what and where the issues are and what the recladding and repair options are moving forward. This is where “Leaky Building” experience is so important; experience will ensure that you are getting the best and most accurate advice with sensible recommendation to suit your personal situation.
Feel free to contact Complete Building and Reclads where we believe in good honest advice and communication, we understand that when it comes to your home there can be no compromise on service and quality.
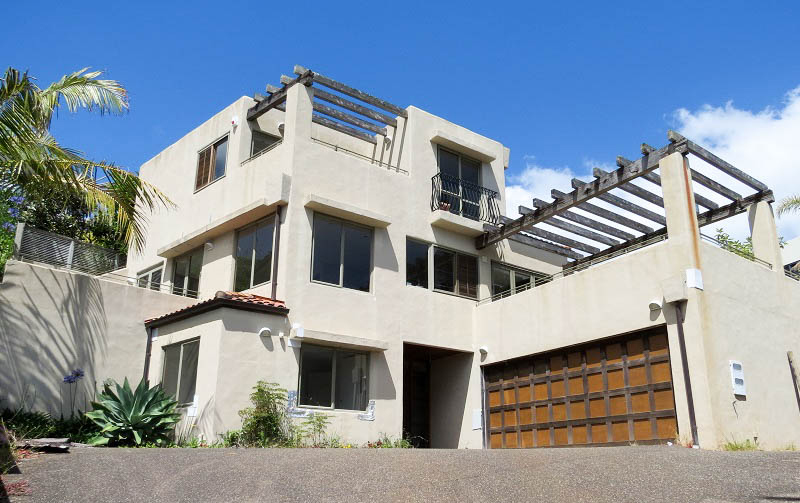 Before Recladding
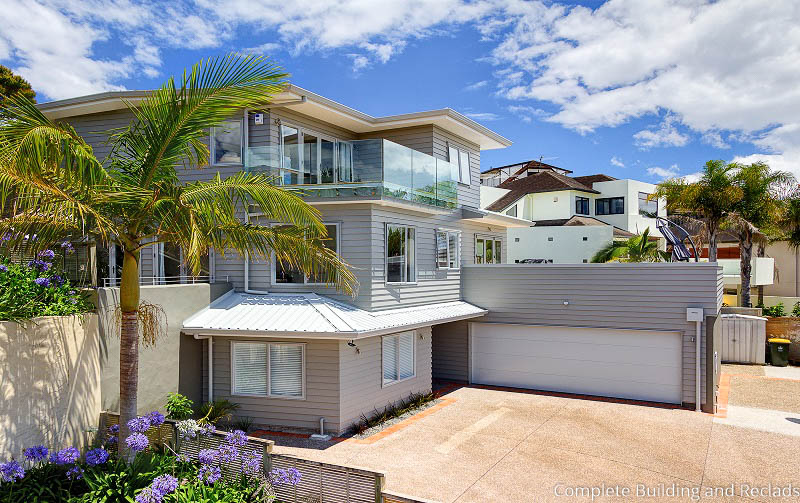 After Recladding
Roofing
It should be noted that some roof design and roofing types can be prone to serious issues and should be evaluated just as importantly as the cladding. Lack of, or very small eaves can also be a contributing factor towards the degree of a buildings potential for leaks
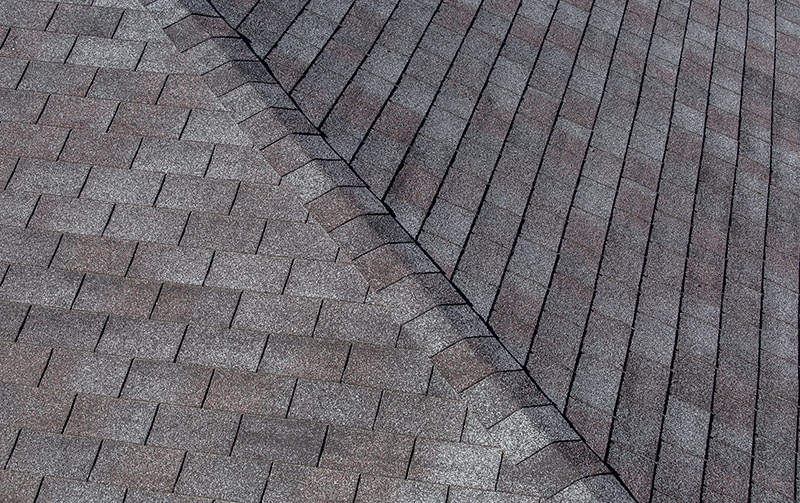
Common Roofing Examples
• Profiled metal roofing (e.g. corrugated)
• Pressed steel tiles
• Clay or concrete tiles
• Synthetic Butyl rubber sheets
• Shingles
• Bitumen membrane
• Profiled impregnated wood fibre sheets
Wall Cladding
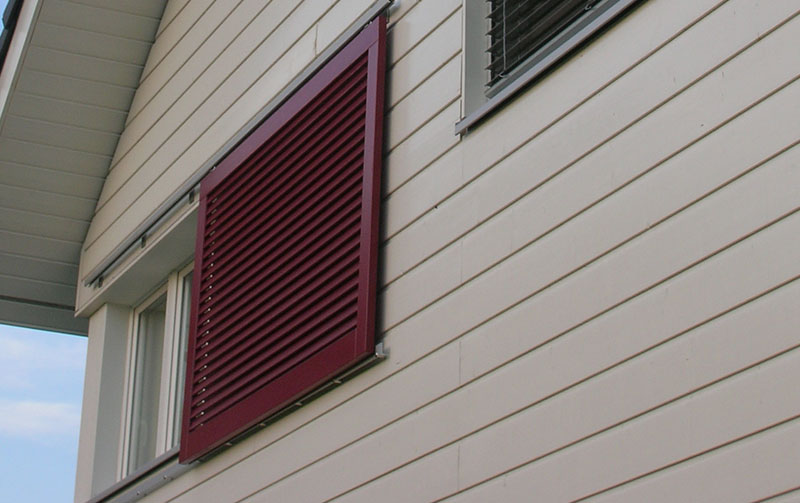
This is designed to protect the interior and the structure of the home from water and draught penetration under all conditions; the lasting performance of cladding is obviously extremely important alongside a well designed flashing system. All cladding’s systems have there pro’s and con’s for a range of different reasons and careful consideration should be given towards cladding choice
Different Wall Cladding Types
• Weatherboards
• Fibre cement
• Plywood
• Masonry veneer
• Concrete
• Monolithic systems
• Metal
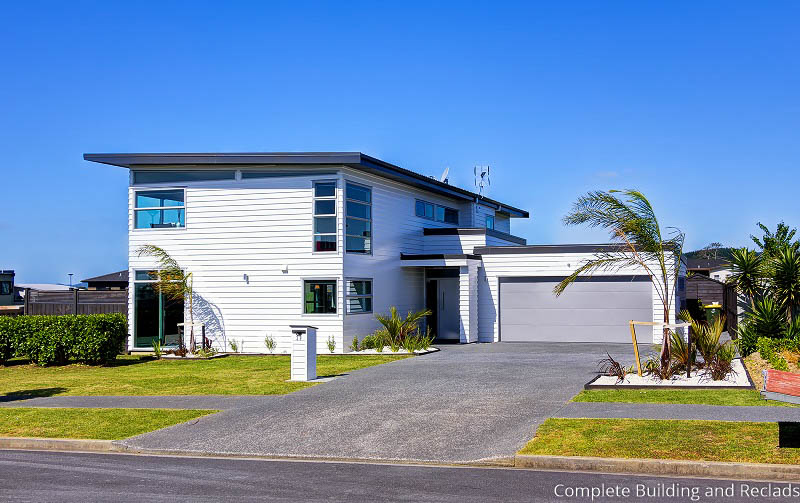 After
After
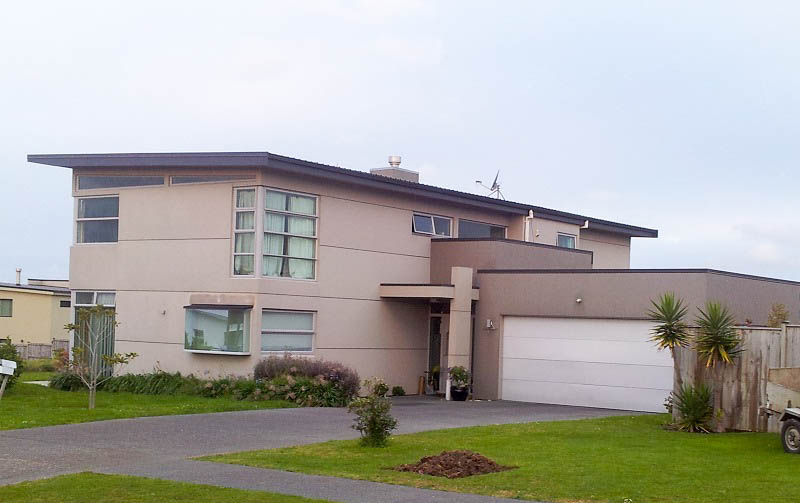 Before

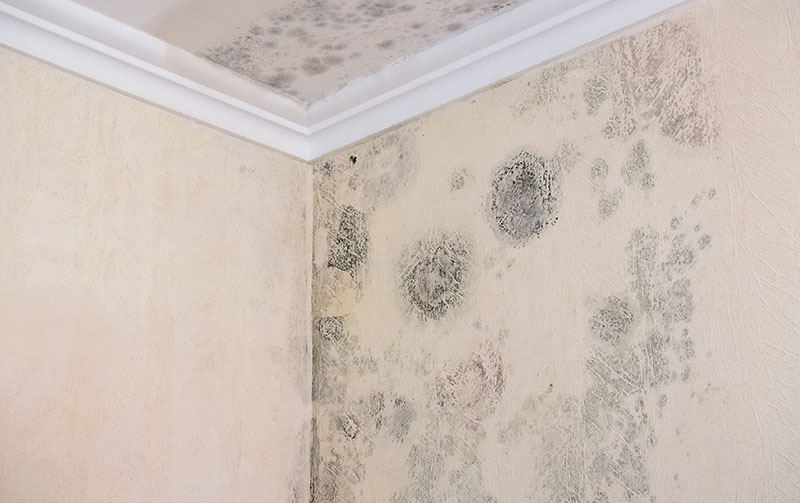
If you are experiencing any of these problems we recommend that you contact us We can aid in providing honest advice and find the best solution and a sensible way forward.
Houses with monolithic cladding systems have been identified as having a high risk of leaking. These homes often have problematic features such as:
These features can cause the inadequate deflection or drainage of water – leading to leaky home syndrome. The different types of monolithic cladding include:
This cladding utilises polystyrene boards with a plaster and paint finish.
These cladding sheets are made from cement, fine sand and cellulose, with a textured coating applied and painted after the sheets have been installed.
With Stucco cladding, cement-based plaster is applied over a variety of backings including fibre-cement and plywood sheeting, before being painted.
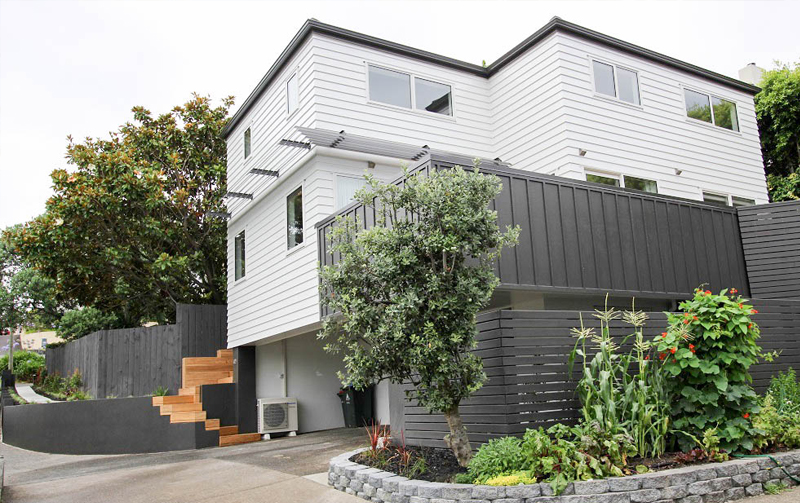 After
After
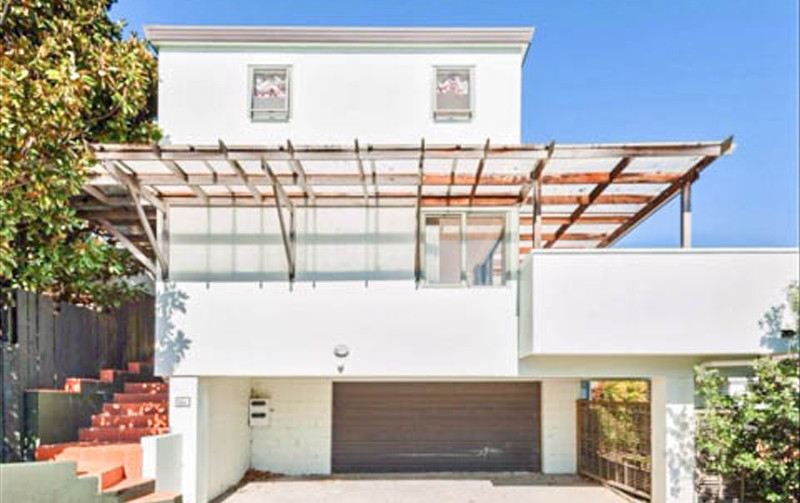 Before
The benefits of full recladding over targeted repairs are significant and include:-
Step 1: Planning
We will obtain the council property file containing the original house plans and proceed to have the reclad plans drawn up. New cladding types and other finishes will be carefully considered at this stage. Once the plans are complete we will apply for building consent. At this design and planning stage we have the opportunity to consider any other changes (such as house layout) that the owner may wish to make to the home and as part of the reclad process we can make these building changes
Step 2: Scaffolding and Weather Protection
The first step in the leaky building repair process involves setting up full scaffolding to provide access to the exterior cladding. Once the scaffolding is erected, weather protection is set up and the house is generally fully wrapped to keep the house dry whilst the building repair works are undertaken.
Step 3: Cladding Removal
The second step involves the cladding removal and disposal. Whilst it may be preferable from a logistical perspective to remove all the cladding at the same time, each dwelling must be approached on a case-by-case basis, as a staged ‘cladding removal’ process will be more appropriate for some buildings.
Step 4: Inspection of Timber Framing for Rot or Decay
Once the cladding has been removed, the local Council is advised and an inspection is organised to determine what steps are required to ensure the existing timber framing complies with the Building Code. The main issues considered during the inspection include the treatment level of the existing timber framing (if any), the moisture levels present in the timber framing and the presence of any rot or decay.
Step 5: Building Repair & Re-Cladding
The repair and re-cladding process is the most complicated and time-consuming part of the entire job. This is when the rotten or decayed timber (and any other damaged building elements) are removed and replaced, defective design faults corrected and the new cladding system reinstated as per the Building Code requirements. The quality of the repair work is paramount when it comes to ensuring the repaired building will not leak in the future.
In short – it depends.
Where a full re-clad is required, we generally recommend the property be vacated prior to starting the building work. As a general rule, the building will be without cladding, insulation and windows for a period during the work. The building work required is very noisy, dusty and disruptive to the living environment within a home. That said, every project is different. We can discuss the options available to you with regard to your specific project and situation.
Can I stay in my leaky home during the re-clad process?
It is understood why you should want to stay in your own property during the re-clad process but this is something we strongly advise against, the re-clad process is very uncomfortable to endure but most of all it posses a serious health issue.
Yes you do.
If you proceed with recladding work without having been granted a building consent, the Council will issue you with a stop-work notice and require you to obtain the necessary consents before the work is able to continue. It takes time to get drawings completed and to obtain a building consent (generally about 3-4 months) and during that time the building work would be on-hold.
Our leaky home repair specialists are able to assist with anything from minor holes and damage to a complete re-clad of your home. Our team will also arrange your building plans and submit them to the council for approval, and organise inspections through the Code of Compliance.
If your home was built in the last ten years, you may be eligible to bring the claim to the Weathertight Homes Resolution Service for the cost of repairs. We can guide you through the claim process by providing you with the WHRS claim forms and helping you to complete them.
For more information on the Weathertight Homes Resolution Service, please visit the Department of Building and Housing Website.
Complete Building and Reclad’s has completed many successful building and recladding projects throughout the Auckland region.
We understand and pride ourselves on communicating openly and honestly with our clients from day one and in providing a seamless, timely and professional recladding or building process from start to finish.
0800 880 032
Complete Building and Reclads
PO Box 260071
Howick East
Auckland 2146